The “Coverage” problem in making Cinematic AI short films
Have you ever wondered, why do Films or videos made out of AI look like… that? Not that, or that or that, but Why don’t the scenes match up from shot to shot, ya know, like in a real movie?
Well, with the current AI tools available, it is extremely difficult to create consistent scenes or characters. In a traditional film or tv project, this shot to shot consistency is called coverage. As in, how are we going to “cover” this scene to get all the shots we need?
Coverage consists of some terms you are probably familiar with, like wide shot, medium shot, close up, etc. With a traditional physical or animation production this is somewhat easy to execute.
When you change the lens or the camera position the camera moves its axis slightly every time you do a new camera set up. This is because the camera is not a static object, and it is constantly moving around in 3d space in order to capture the best possible angle. As a result, the camera’s axis will always be slightly different from shot to shot, even if the scene itself is not changing.
But with AI, it is currently much more difficult to generate a consistent wide, medium or close up shot within the same scene. This is because AI models are not yet able to understand the context of a complete scene and how different shots or angels should relate to each other. As a result, it is often difficult to create a scene that feels cohesive and natural. With that in mind, let’s explore a few different approaches to making our AI films appear more cinematic within the limitations of the current AI tools available to us.
Crop Duster
This is a terrible term, but for now I’m calling this first option the Crop Duster because we will be using the crop feature to find our shots and dust in new emotions into the scene. Like I said. Terrible, terrible name. If you have any better suggestions drop them in the comments.
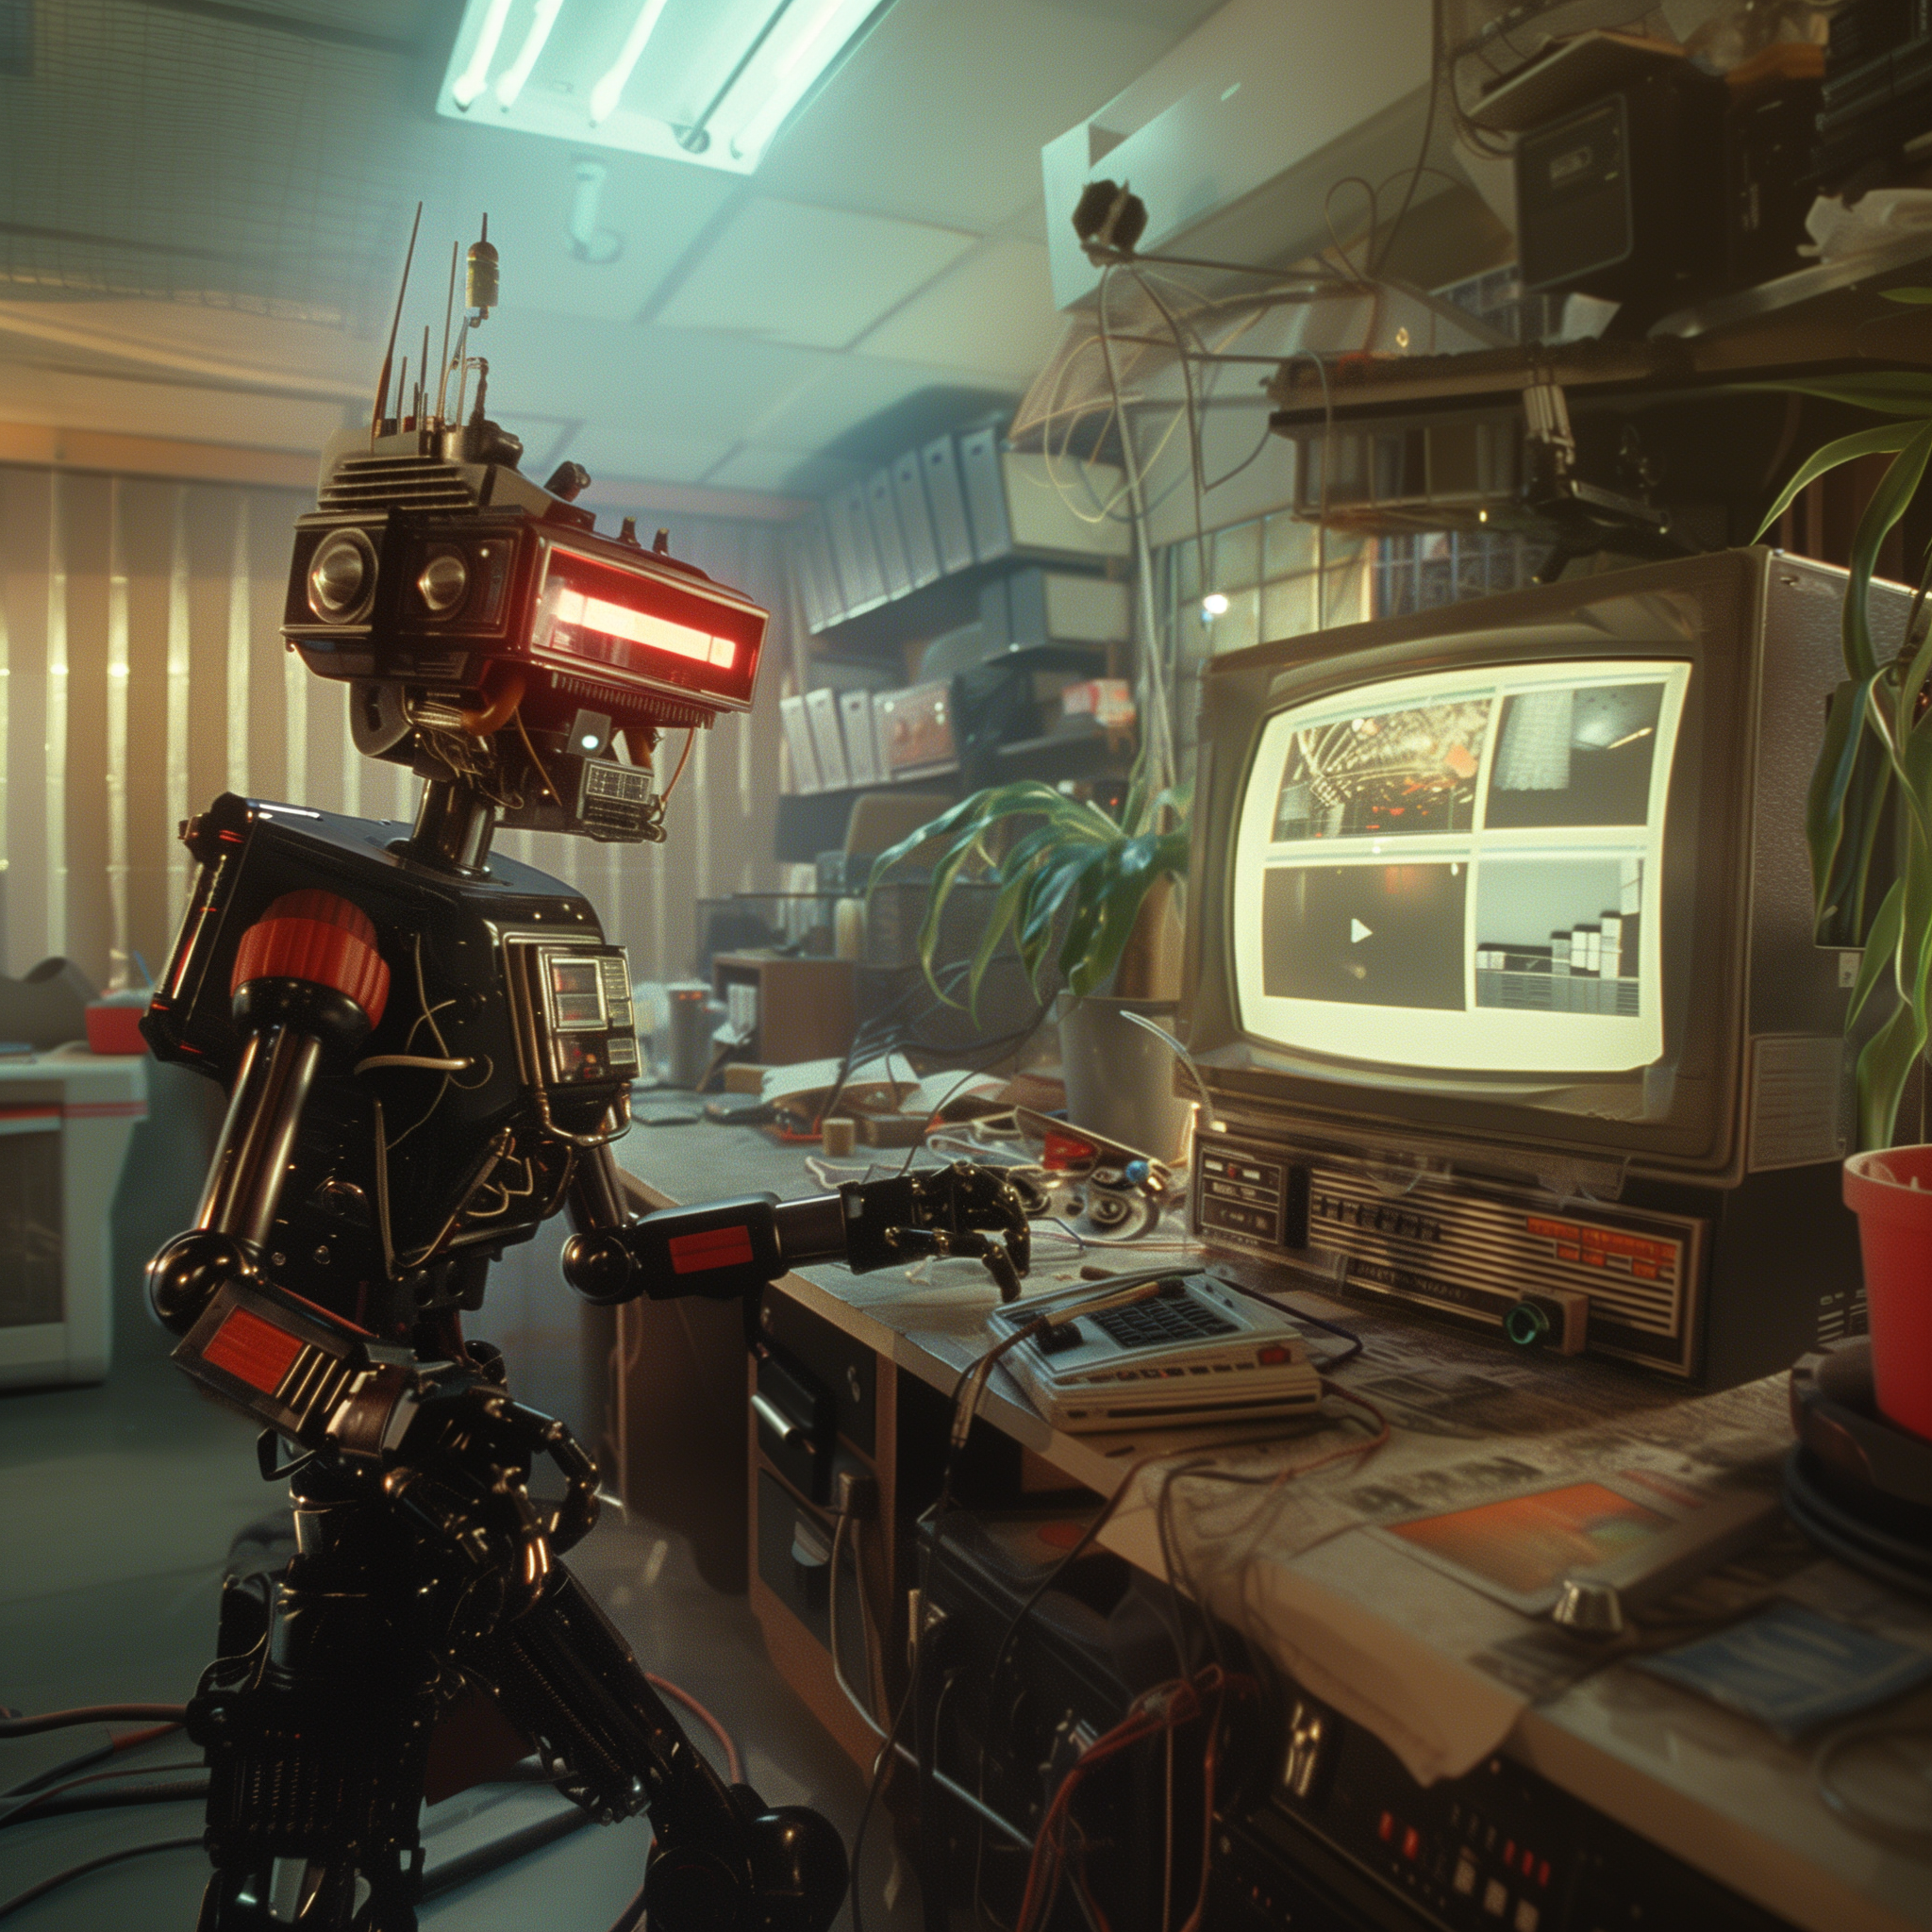
A few weeks ago I created this AI christmas caroling video to test out this approach. To do so I created two wide shots of the scene. One of the singing robots and another for the man listening to their odd song. The Robots shot was relatively easy, as I found the shot I wanted within my first few prompting attempts on Midjourney.
It took a little time to nail the character look for the man, but eventually I got there. I loved this initial image because the eyelines between the man and his cross coverage of the robots somewhat matched, making it easier to put these two shots next to one another in the edit and making it look like they were in the same place and time.
Once I committed to this medium-wide shot of the man, Let’s call him Steve from now on, I used the “Vary (region)” inpainting feature in Midjourney to change the emotion on his face. At first this was difficult… no i mean a disaster, because midjourney didn’t want to keep Steve’s face similar at all.
As you can tell, at first I created something from the depths of hell and then after many rerolls Midjourney went on a Jake Gillihal Hallucination tour and started to turn all Steve’s faces into something resembling the actor.
Going back to the drawing board, I only selected the regions of the eyebrows and the lower jaw, which seemed to work, giving me the same shot but with many different emotions.
I didn’t need to worry about the emotions with the robots, because… well… their robots.
Now, normally I would take these shots straight into Runway to get them animated, but with this technique I will need to first do the crop part of the crop duster. Because I use my custom-built PC, I used Microsoft’s “Photos” to crop my shots, but you can use any photo editing app that you have access to.
Keeping the aspect ratio locked on 16:9, I used the crop tool on the wide shot to well… find my shot. Since the wide was already taken care of I progressively cropped in to a medium wide, medium, close up and extreme close up, adjusting my framing and composition for each shot. Similar to what I would have done if I was filming this in real life. For some shots I did multiple options for the framing so that I would have more choices later in editing.
I did the same process to the shots of Steve, with his varying emotional expressions, until I had enough coverage to create a full scene.
At this point I took all these stills into runway, creating numerous shots to be used later in the edit. I’m going to skip showing you the editing process for now, but don’t worry I will get into the full rundown of my process after I show you the next technique.
ZOOMER Method
This second technique takes a similar approach to the Crop Duster, but does it all within Midjourney using the Zoom out function, which is why I’m calling this the The ZOOMER method. But before I jump into the full tutorial of this faux perfume commercial I made, I want to quickly let you know that I am now offering One on One mentoring or consulting sessions for AI video creation to both individuals and businesses. During these one on one’s we can walk through your project, start a new one from scratch or talk about specific problems or issues you are having in your AI or traditional video projects. Alright, that is enough of that, Let’s jump into the ZOOMER method.
As with the first AI christmas project, this technique starts with prompting in midjourney. I wanted to make this fake commercial as true to the current day perfume ads as possible, so before I got started I went to Dior’s youtube channel and watched WAY too many ads from the last 5 years. A quick warning here, for the next two days my youtube algo was ALL OVER THE PLACE as i’m not usually a consumer of this type of content.
Anyway, after I did my hours of research I had a loose concept in my head. A perfume ad alluding to the tale of Little Red Riding Hood, but in our story it will be a forbidden love. Because these ads are generally short, I really only needed three shots to make the 12 second video. 1. The shot of Little Red, 2. The Shot of Big Bad and 3. The final shot of the his and her perfume.
Starting with Little red I used this prompt and quickly got the result I was looking for.
Cinematic Scene, a 20 year old Little Red Riding Hood looking around for the big bad wolf in a forest, 2023, wide profile shot, Kodak Porta 400, Tom Ford, Motivated lighting –style raw –ar 16:9 –s 50
I choose the version I like with the character looking off screen. This gives us the opportunity to cut to another angel with matching eye lines, tying the scene together and making it seem like the two shots are in the same place.
Now that I have my close up of little Red, I simply hit the Zoom Out 1.5 and Zoom out 2 buttons, giving me the three shots I need to create coverage. A Close Up, Medium and wide shot.
For Big Bad, I took the same approach, but it took a bit longer to get his look right. Once I found the right image I noticed that both characters were looking the same direction, camera left. Because this was a still photo I fixed this easily by just doing a “flop” of the image, making it a perfect match to Little Red’s eyeline. Once I knew this image would work I created the medium and wide shots using the zoomer method.
Next I brought the clips into runway and let it do it’s magic. Before adjusting any parameters I usually let runway have a go with 3 to 4 clips completely on its own. Sometimes you get lucky with a great shot right off the bat, but most times you need these clips to see how Runway interprets the scene without any direction. Consider it a camera rehearsal if you come from the traditional filmmaking world.
At first I was having issues with Big Bad as Runway wanted to turn the wolf into a man on every single occasion. But after some fine tuning I finally got it right.
I didn’t want a lot of movement with Little Red, so I focused the motion brush on her hair paired with a slow dolly in. This technique worked great most of the time, but sometimes we got a clip that looked like this… a trip to uncanny valley.
After getting the shots I knew would work, I wanted to try a wrap around camera move to mimic the off angel shot that you can get with traditional coverage. After a few failed attempts I was able to get this shot where I wanted and in my opinion looks amazing.
The Perfume shot was relatively easy as Runway does a great job with small dolly moves, but I did take my time to do this right and get a few shots that were usable.
After Runway I downloaded all the clips I wanted to use and upresed them with Topaz AI, making them 4k prores MOV files that would provide high quality and a smooth edit process.
During the edit I first organized my clips on the timeline, changing the color so I know what shot is what. I marked the best shots I found with gold and started to build my edit around these awesome clips.
Once I had a rough cut of the best clips I popped over to Artlist and actually found my music track extremely quick from their “recommended for you” section. If you want to give artlist a try there is a referral link in the description below.
Once I tightened the edit to the music I quickly went to the color profile in adobe and did a color correction pass on all the clips. So far the video is looking great, but still has an issue that many AI films face. The dreaded AI video flicker. Luckily I have a solution that worked great… For this project at least.
What you do is make a copy of all your clips, and add them right above the current clips in your timeline. Move the new clips to the right by one frame and then turn the opacity to 50%. Wala! The flicker is now gone.
Next I created the bloom effect to soften our image and make it look a bit more like film. To do this you simply take your edit and nest it so the entire edit is wrapped in one clip. After this you duplicate the layer and add the fast blur effect, turning the blending mode to screen and adjusting the opacity to your liking. Not every film needs this effect, but it’s good to have even just a small percentage of bloom to make the cut look more realistic with some blurry imperfections as AI produced videos usually seems too clean, in my opinion anyway.
Next I added some film grain that I downloaded from Artlist, added some light leaks, did some final edit tweaks and added the Dior Logo and Text.
Finally I recorded myself with a fake French accent and changed it to a woman’s voice with altered AI.
Results
AI video is inching closer to mirroring real film production, but we’re not 100% there yet.
However, advancements are being made every day, such as Stability AI’s Stable Zero123, which can generate 3D objects from a single image. Additionally, new white papers and tools have claimed to be able to control emotions in the faces of video subjects and even fix inconsistent AI footage. These seemingly daily breakthroughs hint at a future that potentially solves the current limitations in scene coverage for AI generated films.
Speaking of films, if you want to know how I created a short that won Best Character at Runway’s Gen:48 you can do so by watching the video here.